Posts

Showing posts with the label esp8266 project

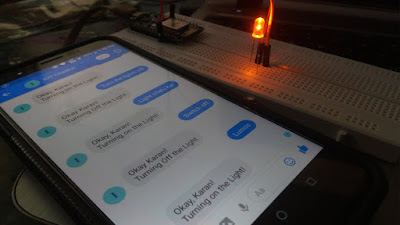
Internet Of Things: Controlling an LED/Bulb using Facebook Messenger Chatbot via Chatfuel and MQTT!
Image
Material to get started: ESP8266 12e NodeMCU manufactured by Lolin (Check the datasheet, if you are using a different version.) Fig. 2: ESP8266 12e by Lolin USB Type C cable to program ESP8266 12e from a laptop or PC. Most Android phones use this type of cable. Fig. 3: USB Type C Cable Relay Module – Relay is an electro-mechanical switching device. In a relay, we can control switching AC or DC appliances digitally by providing input to relay input pins. Here we have used a 1-channel relay operating on 5 Volts. Fig. 4: 1 Channel Relay Module To connect your AC appliance, use the following connection with the Relay Module use the following connection. The Signal pin is IN. Fig. 5: Relay Connection With some wires and breadboard. Back End Set-up : Set-up with Facebook Messenger: We need a Virtual human to chat with. For this, we will create a Facebook Page. Fig. 6: Create a Facebook Page To create a Facebook Page, click  here  and Get Started with...

Controlling an LED using Voice Based Google Assistant via Adafruit MQTT

Image
**STEPS** 1. Driver Installations Download the entire folder given to you in the link. This folder contains the driver files, codes, libraries, etc. Go to the installation folder & install the Device driver CP210 2. Download the Arduino Ide software (version 1.6.5 I prefer ; you can go for higher version too) for your computer/laptop from www.arduino.cc (Its free) Once downloaded open it, go to File>Preferences and in additional board manager url type the url http://arduino.esp8266.com/stable/package_esp8266com_index.json 3. Go to Tools>Boards>Board Manager Now a small download will take place. (Around 20 min it will take). Once done type Esp so it should show “installed” 4. Now go to Tools>Boards>Select NodeMcu (Esp 12E) 5. Now connect your Esp8266 to your laptop with usb cable then select the correct com port in Tools>Port (If its not visible that means esp driver is not installed) 6. There are 2 libraries that are to be added. To add the 1st...